
# Acurite Weather Station Mounting Guide: Tips and Techniques for Optimal Installation
Installing an Acurite weather station correctly is crucial for obtaining accurate and reliable weather data. Proper mounting ensures that your station can measure temperature, humidity, wind speed, and other meteorological factors effectively. In this guide, we’ll walk you through the essential tips and techniques for mounting your Acurite weather station for optimal performance.
## Choosing the Right Location
The first step in mounting your Acurite weather station is selecting the ideal location. Here are some key considerations:
– **Avoid Obstructions:** Ensure the station is placed away from buildings, trees, or other structures that could block wind or create temperature anomalies.
– **Height Matters:** Mount the station at a height of 5 to 6 feet above the ground to avoid ground-level temperature fluctuations while still being accessible for maintenance.
– **Sun Exposure:** Place the station in an area with adequate sunlight but avoid direct exposure to intense heat sources, such as asphalt or metal surfaces.
## Mounting Options for Your Acurite Weather Station
Acurite weather stations come with versatile mounting options to suit different environments. Below are the most common methods:
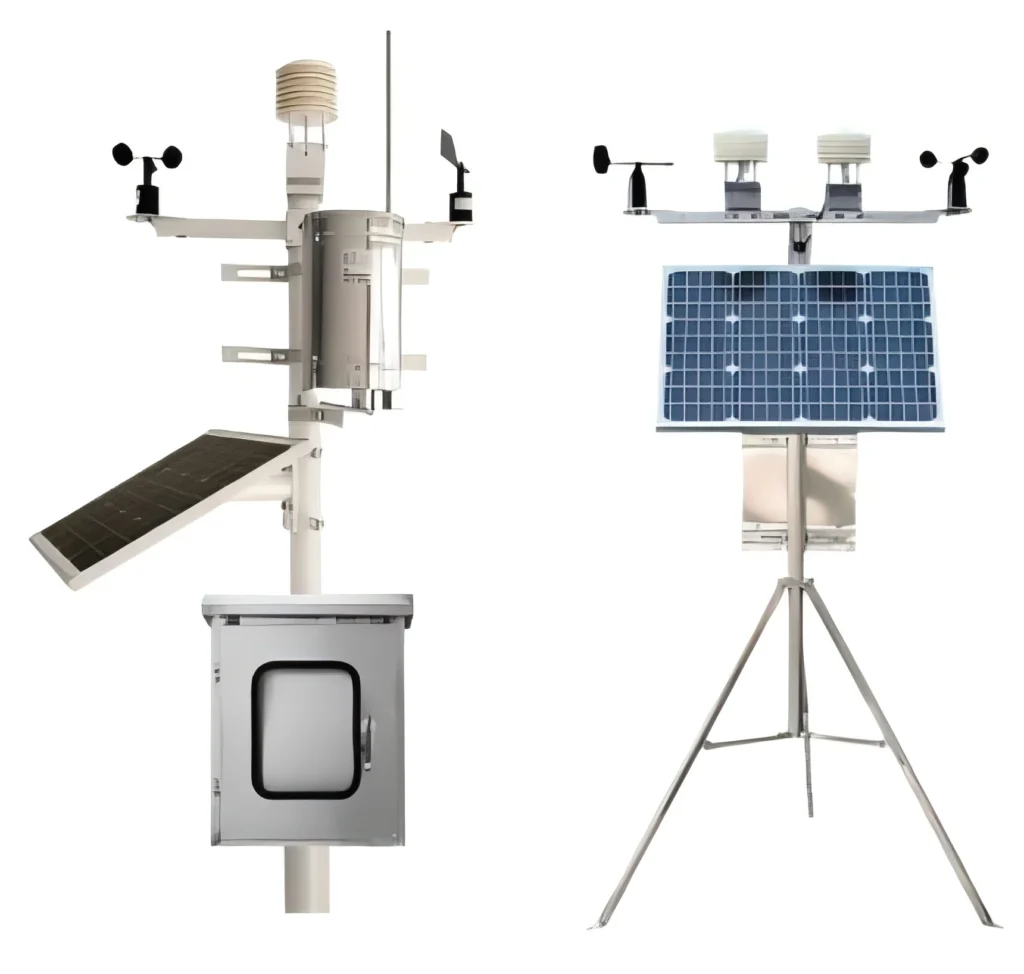
### 1. Pole Mounting
Pole mounting is one of the most popular methods for securing your weather station. Use a sturdy pole or mast to elevate the station to the desired height. Ensure the pole is securely anchored to prevent swaying or tipping during strong winds.
### 2. Wall Mounting
If you prefer mounting your station on a wall, choose a location that meets the criteria mentioned earlier. Use the included mounting brackets to attach the station securely to the wall. Ensure the wall is stable and can support the weight of the station.
### 3. Tripod Mounting
For temporary or portable setups, a tripod can be an excellent option. Tripods are easy to move and adjust, making them ideal for testing different locations before final installation.
## Tools and Materials Needed
Before starting the installation, gather the necessary tools and materials:
– Screwdriver or drill
– Mounting brackets (included with the station)
– Screws and anchors (if not included)
– Level to ensure proper alignment
– Ladder (if mounting at height)
## Step-by-Step Installation Guide
Follow these steps to mount your Acurite weather station:
1. **Assemble the Mounting Hardware:** Attach the mounting brackets to the weather station as per the manufacturer’s instructions.
2. **Mark the Mounting Location:** Use a pencil to mark the spots where you’ll drill holes for screws or anchors.
3. **Drill Holes:** Carefully drill holes at the marked locations, ensuring they are level and aligned.
4. **Secure the Station:** Attach the station to the mounting surface using screws or anchors. Double-check that it is firmly secured.
5. **Test the Setup:** Power on the station and verify that it is functioning correctly. Ensure the sensors are unobstructed and properly aligned.
## Maintenance Tips
Once your Acurite weather station is installed, regular maintenance is essential to keep it functioning optimally:
– **Clean the Sensors:** Periodically clean the sensors to remove dust, dirt, or debris that could affect accuracy.
– **Check for Damage:** Inspect the station and mounting hardware for signs of wear or damage, especially after severe weather.
– **Battery Replacement:** Replace the batteries as needed to ensure uninterrupted operation.
## Conclusion
Properly mounting your Acurite weather station is the foundation for accurate weather monitoring. By choosing the right location, using the appropriate mounting method, and following the installation steps, you can ensure your station provides reliable data for years to come. Happy weather tracking!
Keyword: acurite weather station mounting